Chào mọi người, hôm nay mình sẽ hướng dẫn các bạn thực hiện cài đặt Seafile Server trên CentOS 7.
Contents
Giới Thiệu
Seafile là một self-hosting File Server cho phép bạn lưu trữ dữ liệu trên máy chủ nội bộ, hỗ trợ client trên các nền tảng phổ biến như Windows, MacOS, IOS, Android. Seafile (CE) hoàn toàn miễn phí và được OpenSource nhưng cũng có một phiên bản Enterprise (PRO) hỗ trợ thêm các tính năng Autdit, Scaling, Anti Virus, …v.v cho doanh nghiệp.
Cài đặt Seafile Server
Đầu tiên các bạn cần chuẩn bị một máy chủ đã cài đặt CentOS 7, sau đó các bạn thực hiện download Seafile Server Package và lưu tại /opt/
cd /opt/
wget https://download.seadrive.org/seafile-server_6.2.5_x86-64.tar.gz
Sau đó các bạn bắt đầu cài đặt bằng script installer sau:
cd /root
wget --no-check-certificate https://raw.githubusercontent.com/haiwen/seafile-server-installer/master/seafile_centos
bash seafile_centos 6.2.5
Possible options:
1 = Seafile Community (Free) Edition (CE)
2 = Seafile Professional Edition (PRO)
1) CE
2) PRO
3) ABORT
Which Seafile version would you like to install? 1
Các bạn chọn phiên bản CE và chờ cho đến khi quá trình cài đặt hoàn tất
Sau khi cài đặt xong Seafile, các bạn thực hiện tiếp cấu hình Nginx Reverse Proxy cho Seafile
Thực hiện cài đặt Nginx như sau:
yum install epel-release -y
yum install nginx certbot certbot-nginx -y
systemctl start nginx
systemctl enable nginx
Các bạn tạo file /etc/nginx/conf.d/seafile.conf và thêm vào nội dung như sau:
server {
listen 80;
server_name "seafile.domain.com";

proxy_set_header X-Forwarded-For $remote_addr;

location / {
proxy_pass http://127.0.0.1:8000;
proxy_set_header Host $host;
proxy_set_header X-Real-IP $remote_addr;
proxy_set_header X-Forwarded-For $proxy_add_x_forwarded_for;
proxy_set_header X-Forwarded-Host $server_name;
proxy_set_header X-Forwarded-Proto $scheme;
proxy_read_timeout 1200s;

# used for view/edit office file via Office Online Server
client_max_body_size 0;

access_log /var/log/nginx/seahub.access.log;
error_log /var/log/nginx/seahub.error.log;
}

location /seafhttp {
rewrite ^/seafhttp(.*)$ $1 break;
proxy_pass http://127.0.0.1:8082;
client_max_body_size 0;
proxy_set_header X-Forwarded-For $proxy_add_x_forwarded_for;
proxy_connect_timeout 36000s;
proxy_read_timeout 36000s;
proxy_send_timeout 36000s;
proxy_request_buffering off;
}

location /media {
root /opt/seafile/seafile-server-latest/seahub;
}

location /seafdav {
fastcgi_pass 127.0.0.1:8080;
fastcgi_param SCRIPT_FILENAME $document_root$fastcgi_script_name;
fastcgi_param PATH_INFO $fastcgi_script_name;
fastcgi_param SERVER_PROTOCOL $server_protocol;
fastcgi_param QUERY_STRING $query_string;
fastcgi_param REQUEST_METHOD $request_method;
fastcgi_param CONTENT_TYPE $content_type;
fastcgi_param CONTENT_LENGTH $content_length;
fastcgi_param SERVER_ADDR $server_addr;
fastcgi_param SERVER_PORT $server_port;
fastcgi_param SERVER_NAME $server_name;
fastcgi_param REMOTE_ADDR $remote_addr;

client_max_body_size 0;
access_log /var/log/nginx/seafdav.access.log;
error_log /var/log/nginx/seafdav.error.log;
}
}
Tiếp theo chúng ta cấu hình Auto SSL cho Nginx bằng certbot như sau:
certbot --nginx -d seafile.domain.com
Sau đó các bạn đổi lại URL cho ứng dụng tại file /opt/seafile/conf/ccnet.conf
SERVICE_URL = https://seafile.domain.com
Thực hiện restart Nginx để kiểm tra lại Seafile Server đã hoạt động bình thường
systemctl restart nginx saefile
Tạo User admin cho Seafile, các bạn chạy lệnh sau và nhập vào thông tin của User admin
bash /opt/seafile/seafile-server-6.2.5/reset-admin.sh
E-mail address: [email protected]
Password:
Password (again):
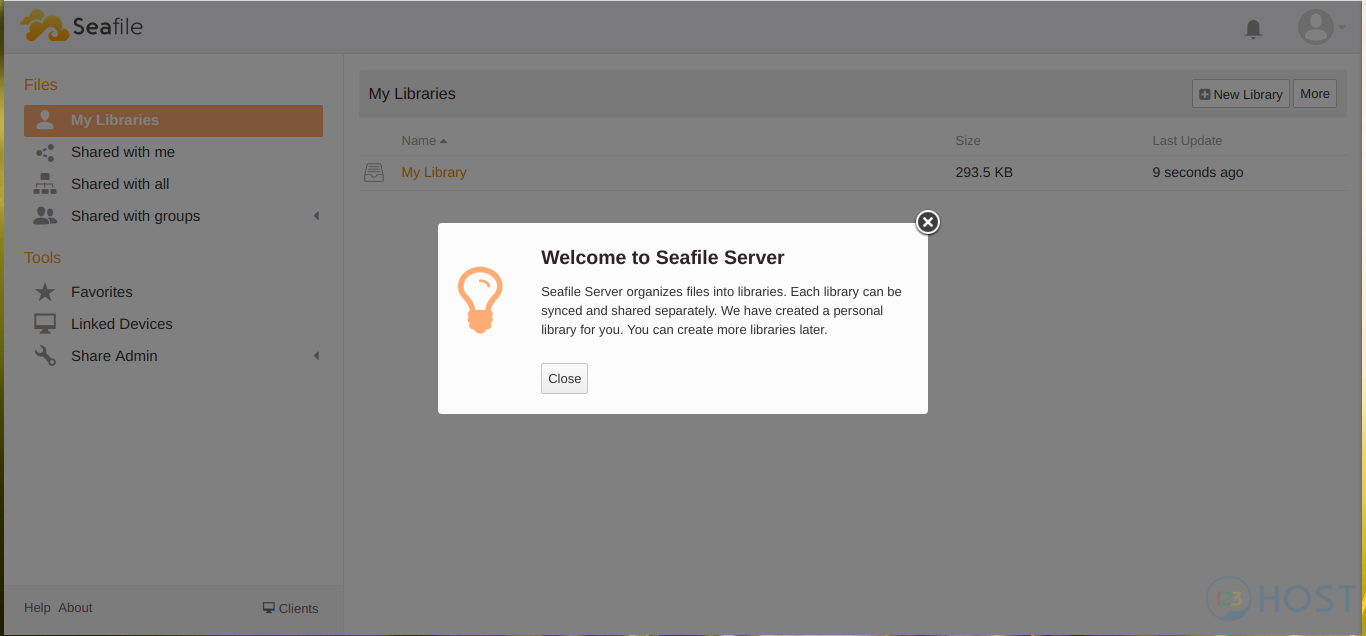
Sau khi tạo User thành công, các bạn login vào Seafile
Sử dụng Client trên PC và Mobile
Windows Client
Các bạn download Seafille client cho Windows tại link https://www.seafile.com/en/download/
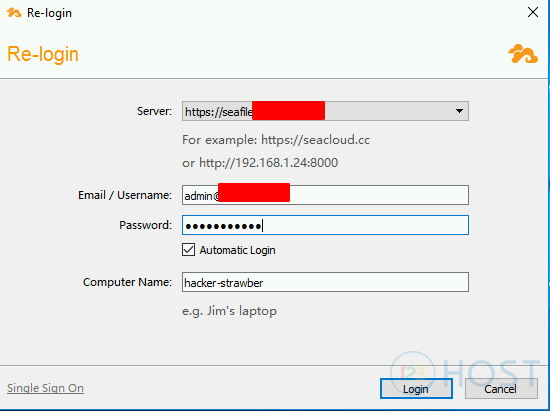
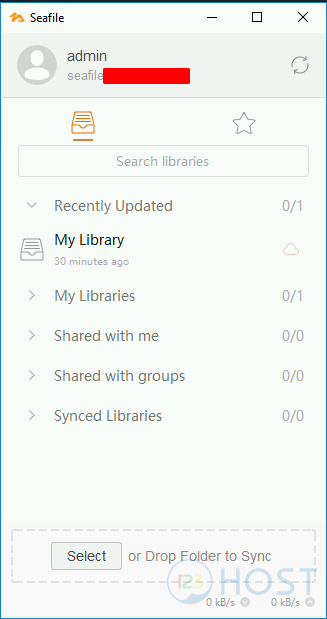
Sau khi download và cài đặt thành công, các bạn cấu hình sử dụng account admin các bạn đã tạo như sau:
MacOS Client
Các bạn download file cài đặt Seafile cho MacOS tại link https://www.seafile.com/en/download/
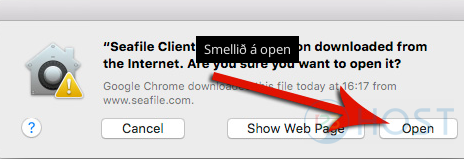
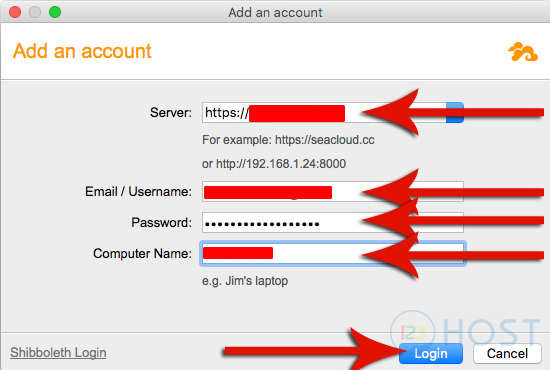
Sau khi cài đặt ứng dụng này trên MacOS, các bạn cấu hình tương tự như hình sau
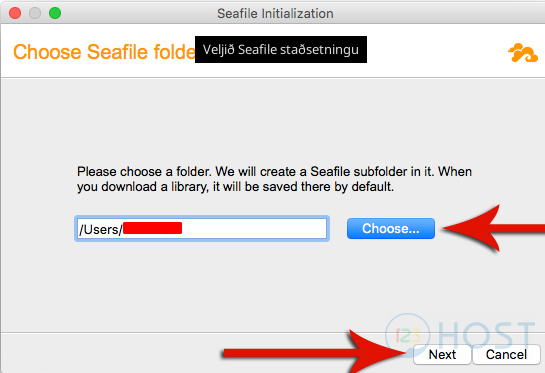
Các bạn cấu hình sử dụng account admin các bạn đã tạo ở bước trên như sau:
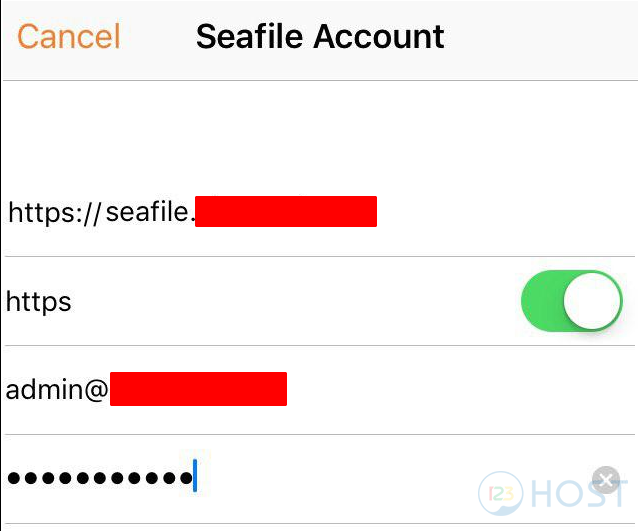
ISO Application
Các bạn download ứng dụng Seafile Pro từ APP STORE và cấu hình các thông tin như sau:

Tại bước Add Account, các bạn chọn Other Server
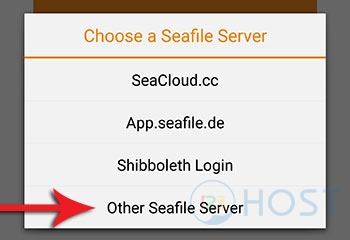
Android Application
Các bạn tìm kiếm trên PLAY STORE ưng dụng Seafile, download và cài đặt, sau đó thực hiện thêm tài khoản theo như hướng dẫn sau:
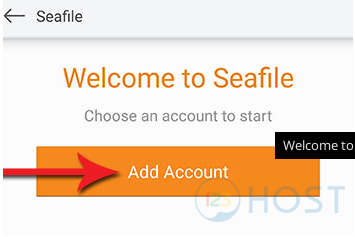
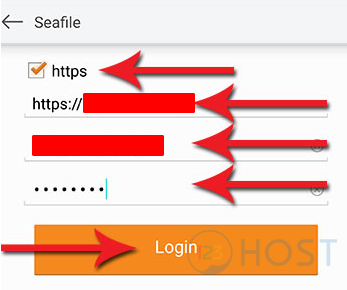
Các bạn chọn Other Seafile Server
Các bạn cấu hình tài khoản sử dụng thông tin đã thực hiện tạo như ở bước trên
Kết luận
Như vậy là chúng ta đã hoàn thành việc cài đặt Seafile Server và Seafile Client trên các nền tảng khác nhau. Chúc các bạn cài đặt Seafile Server thành công. OKAY, AS ALWAYS, PEACE OUT!


Leave A Comment?